
⭐⭐⭐⭐⭐930+ Happy Customer Reviews
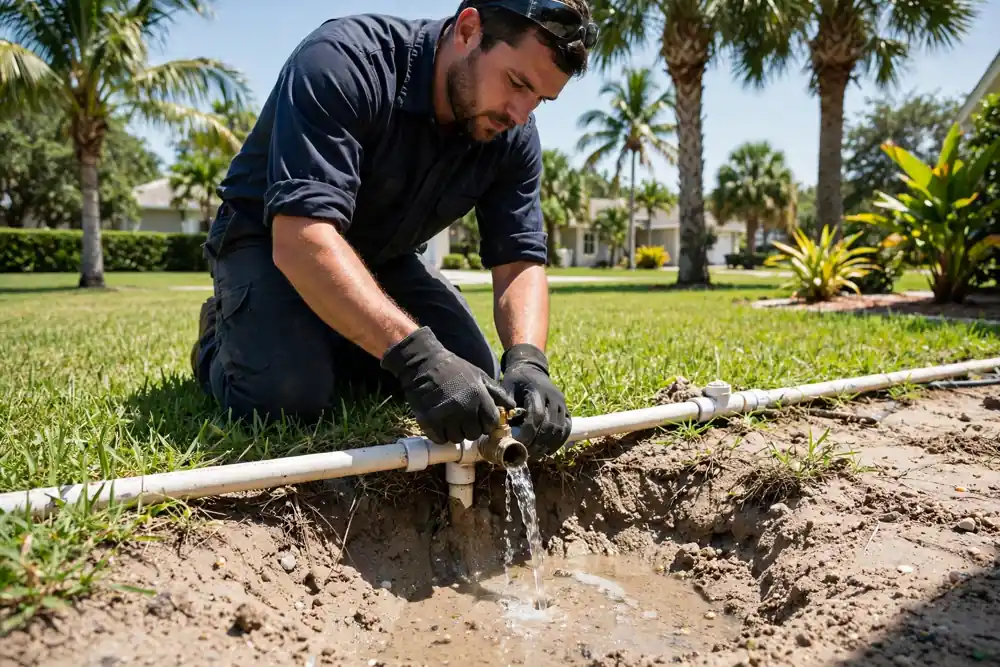
Most homeowners only think about draining their irrigation system when a pipe breaks. Draining is not a winter ritual. In a Palm Coast yard, it is the first step of almost every real repair: swapping a valve, cutting out a broken pipe section, chasing a leak, or fixing a head that will not stop weeping. Done wrong — opening a pressurised line, or blowing air through the wrong fitting — it soaks a valve box and can crack a fitting that was fine before you started.
There are five honest reasons to drain, and none of them is the calendar. A repair: any time you cut a pipe, open a valve body, or swap a head below the water line, the water in that section has to go somewhere, and the trench is the worst place for it. A leak hunt: empty the system, refill one zone at a time, and the wet spot that reappears in only one zone narrows the search to one run of pipe.
Low-head drainage: a head at the bottom of a slope that keeps dribbling after shutoff is holding a column of water in its line. If none of those apply and you are only thinking about cold weather, see our guide to winterizing sprinklers in Florida instead — this guide does not repeat it.
Every drain method starts the same way, and skipping this step is how valve boxes get flooded. Turn off the irrigation water supply at its dedicated shutoff — usually in a valve box near the meter or where the main line leaves the house. Then turn the controller off, so no zone can start while you are working. Finally, relieve the pressure already in the lines: open the drain valve or the lowest head on one zone and let it run until the flow drops to a trickle. A system that is shut off but still pressurised will still spray when you loosen a fitting.
Do not guess — look. Check the low ends of each lateral line, the valve boxes, and the area around the backflow preventer. Small drain valves at the low points mean a manual-drain system. No drain valves, but lines that empty themselves a few minutes after the pressure drops, means automatic drain valves are buried at the low points.
Neither — common on older Florida installs, where lines were simply buried and expected to stay full — means there is no gravity drain at all, and a blowout is the only way to get the water out.
Manual drains are the simplest method and the one most homeowners can do with no special tools. With the water off and the controller off, open the drain valve at the lowest point of each lateral line, one zone at a time, and let it run until the flow stops. Work from the lowest zone upward if the yard slopes — water runs downhill, and opening the high drains first just refills the low ones.
Two cautions: valves untouched for years seize, so work them gently with a wrench rather than forcing them, and a valve that will not fully close after draining needs its washer replaced now, while the line is already empty. If your valve box is already full of water, read our guide to a valve box full of water first.
Automatic drain valves open on their own when the pressure in the line falls below a set point, and close again when the system pressurises. To trigger them, shut off the water, then run one zone briefly from the controller to drop the pressure in that line. You should see water weeping from the low points of the zone within a few minutes.
The limit of this method is that it only drains the lateral lines: the mainline, the manifold, and the backflow preventer still hold water, and those must be drained separately through their own valves or test cocks. Auto drains clog too: grit in sandy soil sticks the valve open, and it then weeps constantly and reads exactly like a leak.
Blowout uses compressed air to push water out through the heads, zone by zone. It is the most thorough method and the easiest to get wrong. Connect the compressor downstream of the backflow preventer — never through the backflow device itself. Wear eye protection, open one zone at a time, and let the air in slowly. Run each zone only until the heads go from a solid spray to a fine mist, then stop; running dry air longer heats fittings for no benefit.
The pressure rule matters most: keep the regulated blowout pressure low, at or below 50 PSI for a typical residential PVC system, and never exceed your system’s rating. If you do not know the rating, do not blow out — that unknown is exactly the case for calling a pro.
Whichever method you use, the order is the same: mainline first, then zones, and the backflow preventer on its own. Open the backflow test cocks with a flathead screwdriver — and let the trapped water out, then drain the mainline through its drain valve.
After that, work through the zones one at a time, lowest first, and confirm each one is actually empty before moving on: a head that still dribbles when you lift it is a zone that is not drained yet. Do not skip the backflow step: it is the most expensive small part in the system to replace, and it gets drained separately, every time.
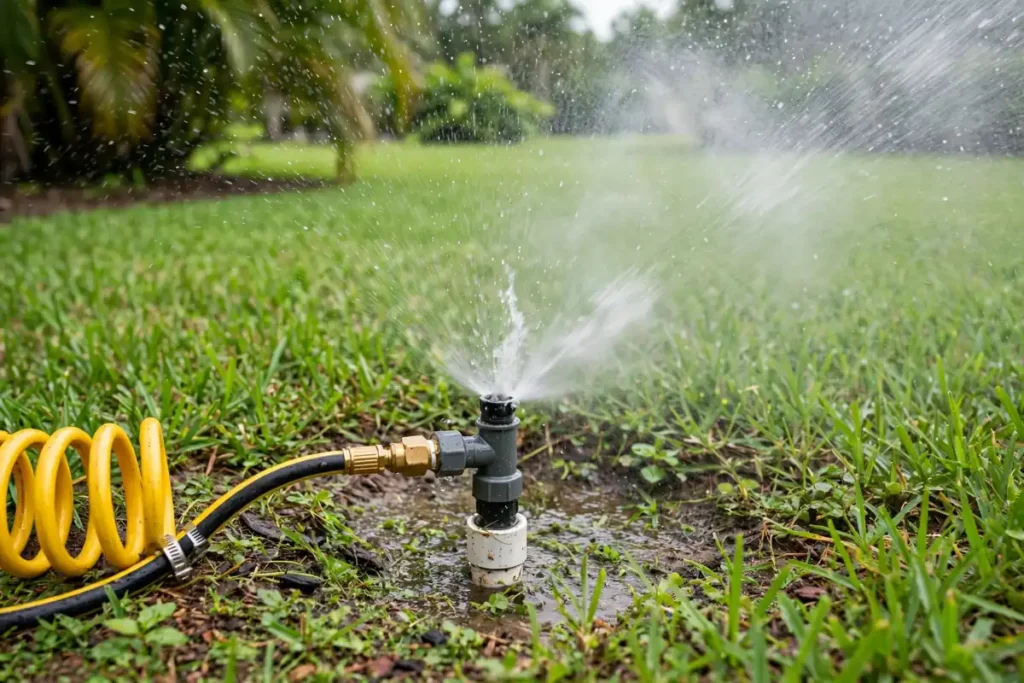
This is the problem that sends more homeowners searching than any other drain question. One head, always the lowest on a slope, keeps dribbling long after its zone shuts off. That is low-head drainage: when the zone valve closes, the water still sitting in the lateral line drains downhill by gravity and out through the lowest head. It is not a leak — it is gravity, on any sloped zone without check-valve heads.
The fix is to fit heads with built-in check valves on the low heads, which hold the water in the line instead of letting it out. Prove it before buying: drain, refill, run, shut off, watch. If only the lowest head weeps and the valve box is dry, it is low-head drainage.
Not every repair needs the whole system drained, and draining more than you need wastes an afternoon. Swapping one head: drain that zone only, and only if the head sits below the water line. Replacing a zone valve or a solenoid: drain the mainline and that zone, because the valve body sits under mainline pressure even when the zone is off (see our solenoid replacement guide).
Cutting out a broken pipe section: drain the mainline and every zone downstream of the break. Chasing a leak: drain everything, then refill one zone at a time — the zone whose refill brings the leak back is the zone the leak lives in, the same logic as our leak detection guide.
Refilling is where drained systems get damaged, because a dry system fills with air as well as water, and air under pressure hits fittings like a hammer. Open the main supply slowly — a quarter turn, then wait. Let the mainline fill until water reaches the valve boxes without spurting, then open the zones one at a time from the controller and let each one purge its air through the heads before moving to the next. Watch the first run of every zone: sputtering is normal for a few seconds, but a fitting that pops apart means the air was let in too fast. Then walk the repair area for fresh wet spots before judging the repair.

Some drains are not DIY jobs, and knowing the line is part of the skill. Call a pro if you cannot find the irrigation shutoff, or if shutting it off does not stop the water — that points to a failed shutoff valve, and forcing it can break the main. Call if the system has no drain valves, no auto drains, and no blowout port, because adding one means cutting into a pressurised mainline.
Call if the backflow assembly is damaged or missing test cocks, since backflow work touches drinking-water protection. Call if a zone will not drain at all, or if the pressure stays low everywhere after a careful refill — both can mean a mainline break, and our low water pressure guide lists the checks a pro will run first.
With the system drained and the supply still off, watch the meter for ten minutes. A meter that moves with everything off is a leak on the supply side, not in the zones, and no zone draining will find it. If the meter is still, refill one zone at a time — the zone that starts the meter moving is the one to dig in.
Open a zone valve manually with the mainline drained, then restore the mainline only. If water immediately flows to that zone’s heads with the controller off, the valve diaphragm is not sealing. That is a valve repair, not a drain problem.
After a full drain, walk the low points. A spot that stays wet hours later is either low-head drainage, a stuck auto drain, or a genuine leak — and the difference is in the pattern. Low-head drainage stops once the line is empty. A stuck auto drain weeps only after a zone runs. A leak never stops. Match the pattern before you dig.
Bucket and towels in the valve box. Irrigation shutoff located and tested. Controller off. Pressure relieved through the lowest head. Drain method identified — manual, auto, or blowout — before anything is opened. Backflow test cocks opened and drained separately. Zones drained lowest first, each confirmed empty. Repair done with the drain left open. Refill slow, zone by zone, air purged through the heads. Repair area checked dry the next morning.
Northeast Florida is not Minnesota, and draining here is not an annual freeze ritual. Palm Coast winters are mild enough that most systems never need a full seasonal blowout. That is why this guide treats draining as a repair tool: the drain you actually do, most years, is the one before a valve swap or a leak hunt, in any month. When a genuine freeze is forecast, the winter job is different, and it is covered properly in our Florida winterizing guide.
We drain, repair, and refill irrigation systems across Palm Coast and Flagler County every week — valves, solenoids, pipe breaks, and low-head drainage fixes included.
Call (386) 237-2983 for a sprinkler repair visit: drain, repair, slow refill, and a full zone check before we leave.
No, not as a routine. In Northeast Florida, draining is a repair and maintenance job, not an annual freeze ritual the way it is in colder states. Drain when you are repairing a valve, pipe, or head, when you are chasing a leak, or when a low head keeps weeping. A full seasonal blowout is only needed when a genuine freeze is forecast and your system is exposed — that winter job is covered in our Florida winterizing guide.
Look at the low points of each lateral line and inside the valve boxes. Small drain valves at the low ends mean a manual-drain system: you open them yourself. No drain valves, but lines that empty themselves a few minutes after the pressure drops, means automatic drain valves are buried at the low points. Neither — common on older Florida installs — means there is no gravity drain, and a blowout is the only way to empty the lines.
Only with a regulated, low-pressure setup and the right connection downstream of the backflow preventer — never through the backflow device itself. Keep the regulated pressure at or below 50 PSI for a typical residential PVC system, wear eye protection, run one zone at a time only until the heads go to a fine mist, and stop there. If you do not know your system’s pressure rating, or you do not have a regulator, do not blow out: call a pro instead.
That is usually low-head drainage, not a leak: water left in the lateral line drains downhill by gravity and out through the lowest head after the zone valve closes. It stops once the line is empty, affects only the lowest head, and leaves the valve box dry. The fix is heads with built-in check valves on the low heads. If several heads weep, or the valve box is wet, suspect a valve that will not seal or a genuine leak instead.
Yes, every time. The backflow assembly holds water that the zone drains do not reach, and it is the most expensive small part in the system to replace. Open its test cocks with a flathead screwdriver and let the trapped water out, separately from the mainline and zone drains, on every drain job — repair, leak hunt, or seasonal work.
A manual or automatic drain on a typical residential system takes under an hour once the shutoff and drain valves are located — most of that is waiting for the lines to empty. A blowout takes longer because each zone is run separately until it mists. The slow part is usually finding things: the first drain on an older system, where nobody remembers where the drain valves are, can take twice as long as every drain after it.