
⭐⭐⭐⭐⭐930+ Happy Customer Reviews
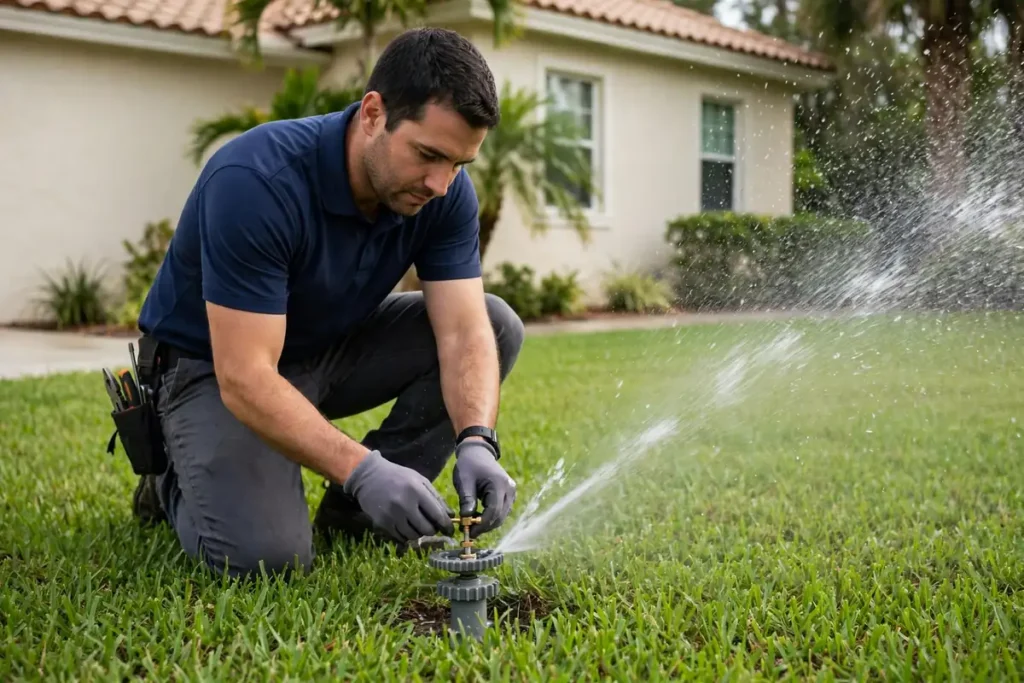
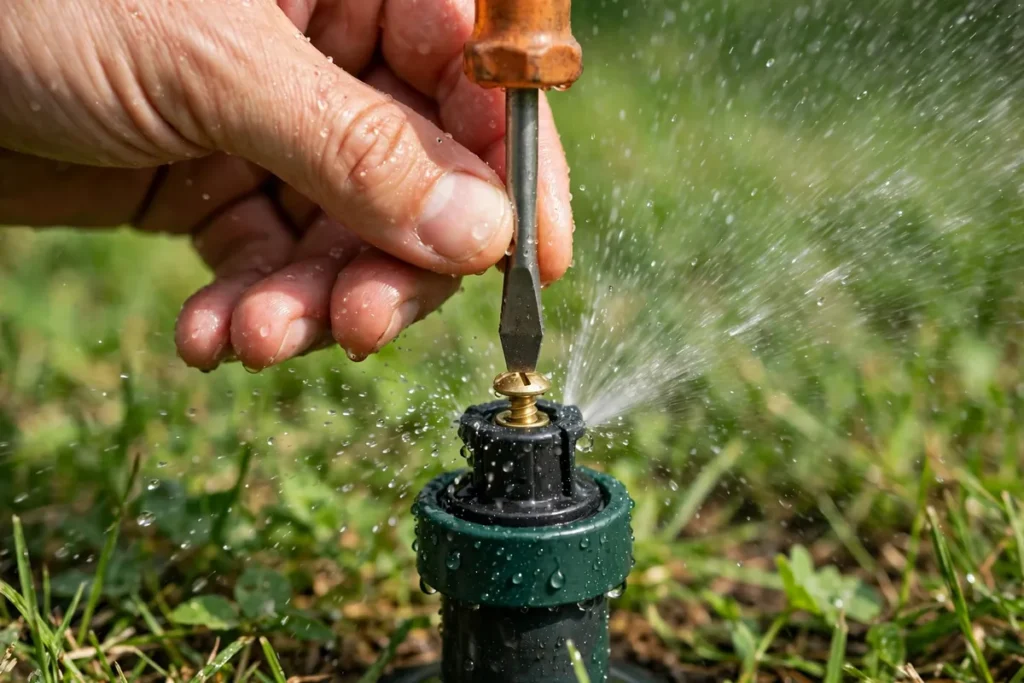
Turn the zone on, then adjust each head while it runs. On spray heads, turn the screw on top to shorten the throw, or twist an adjustable nozzle to change the arc. On rotors, set the fixed stop by turning the turret, then change the arc and radius with the maker’s key.
You need very little. A flat screwdriver handles the radius screw on spray nozzles and the small screws on many rotors. A rotor key — the small T-shaped or flat tool made for your head’s brand — turns the arc and radius adjustments on gear rotors. A nozzle pull-up tool lifts a pop-up riser so you can twist the nozzle without digging the head out. Add gloves and a towel for wiping a nozzle clean before you judge its pattern.
Do not assume a universal key fits every head. Hunter, Rain Bird and Toro rotors use different keys and stop directions, and forcing the wrong key can crack the turret. If the brand is not stamped on the head, pull the riser up, read the cap, and check that brand’s guide first.
Adjustment starts with identification, because each head type adjusts in a different place. Run the zone for a minute and watch the head work before you touch it. A spray head throws a fixed fan and does not rotate. An adjustable-arc spray nozzle looks like a spray head but twists at the collar to open or close the arc. A gear rotor throws one or two streams in a slow arc and clicks quietly as it turns. A rotary nozzle throws several thin streams from a spray body. An impact head is the older brass head with a clicking arm that snaps it around step by step.
| Head | How you tell it | Where it adjusts |
|---|---|---|
| Fixed spray nozzle | Fixed fan, no rotation | Radius screw on top; arc set by the nozzle pattern |
| Adjustable-arc (VAN) spray nozzle | Fan that opens or closes | Twist the nozzle collar to change the arc |
| Gear-driven rotor | Slow rotating stream | Fixed stop by turning the turret; arc and radius with the maker’s key |
| Rotary nozzle | Several slow streams from a spray body | Twist to change the arc with the zone on; radius screw |
| Impact head | Brass head, clicking arm | Trip collars set the arc; deflector or diffuser pin sets distance |
If you are still unsure which head you have, our types of sprinkler heads guide shows each type and where it belongs in a yard.
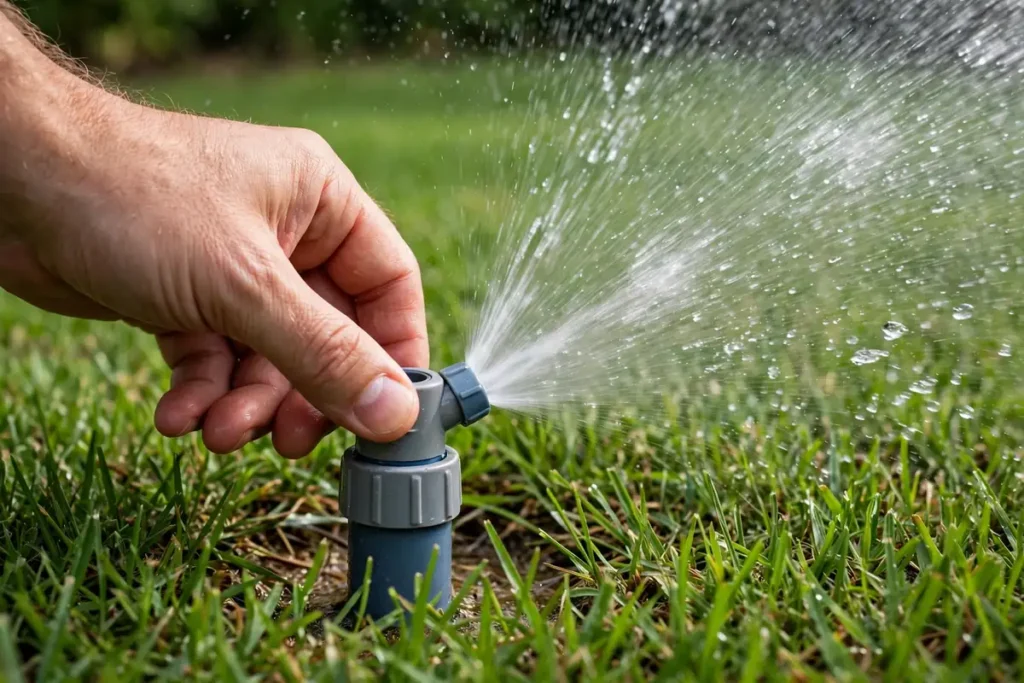
On a fixed-pattern nozzle there is no arc to change: the pattern is the nozzle, so a wrong arc means a different nozzle. Radius still adjusts with the top screw, within that same roughly 25% limit.
Never force a rotor past its stop. If the turret will not turn by hand, the head may be jammed with sand or the gear worn, and forcing it breaks the mechanism. Clean around the head first.
Impact heads are rare in Palm Coast lawns, but the method is simple once you know the parts. The trip collars on the head set the arc: slide them to widen or narrow the sweep. The deflector or diffuser pin sets the distance: adjust it to break up the stream and shorten the throw, or leave it clear for full distance. Adjust with the zone running, as with every other head, and watch where the stream lands rather than trusting the collar positions.
An impact head that stalls halfway or snaps back unevenly usually has a worn spring or a bent arm, not an adjustment problem. If the collars are set right and the head still will not complete its arc, the head needs replacing rather than another twist.
Overspray is the most common adjustment failure, and it costs twice: wasted water and stained surfaces. On driveways and sidewalks, set the arc so the fan stops at the edge of the concrete, and use a strip nozzle along narrow areas instead of letting a round pattern overshoot. A round pattern on a narrow strip will always throw water where it does not belong.
On walls and stucco the stakes are higher: repeated spray stains stucco and feeds algae on shaded walls. Aim the fixed edge away from the wall, shorten the radius until the fan stops short of it, and re-check after the next mowing, because a crew can nudge a head back toward the wall.
One placement rule is worth knowing even when you are only adjusting, not installing: according to the City’s building handouts (dated 2009–2010, not stated here as current law), heads should sit at least 12 inches from buildings. If a head sits closer than that, no arc setting will fully keep spray off the wall, and the head itself is the problem to raise with a licensed contractor.
Adjustment is not finished when each head looks right on its own. Run the whole zone and check that each head’s spray reaches the next head. That head-to-head overlap is what evens out the pattern: without it, the lawn gets wet rings around each head and dry rings halfway between them, and no timer setting fixes a gap in coverage.
For a harder check, set out catch cups across the zone, run it for a fixed time, then compare the depths. Uneven cups mean uneven coverage — usually spacing, a clogged nozzle, or mismatched heads. Our over-irrigation guide explains the catch-cup test.
Some faults look like adjustment problems but are not. A head that throws short no matter how far you open the radius screw is usually a pressure problem, not an adjustment problem. Our low-pressure guide works through the causes in order, from filters to too many heads on one zone.
A head that stays down, pops up only halfway, or sprays sideways is usually stuck or broken, not misadjusted. Sand in the riser, a worn seal, or a cracked body all beat any screw setting. Our head won’t pop up guide covers the checks before you replace the head.
Dry arcs and stripes across a zone that otherwise sprays well often point to the wrong nozzle or a head that has sunk below grade. A sunken head fires into the grass no matter how you set the arc. Our yellow grass guide explains dry arcs and stripes.
For any symptom you cannot place, our troubleshooting hub maps each one to its first check.
Adjustments do not stay put on their own in a Florida yard. Mowing crews bump heads with mower wheels and string trimmers, knocking the arc a few degrees toward a driveway or a wall. After the next mow, run the zone for a minute and re-aim any head that drifted.
Two Florida specifics deserve a regular check. First, tall St. Augustine blocks short heads: a 4-inch pop-up that cleared the turf in spring can fire into thick growth by summer, and the fix is a taller head, not a wider arc. Second, sand gets into nozzles after storms and digging nearby. A nozzle that suddenly sprays to one side usually needs cleaning, not re-adjusting.
| Head | Arc | Radius | Tool |
|---|---|---|---|
| Fixed spray | Set by the nozzle pattern | Top screw, about 25% max reduction | Flat screwdriver |
| Adjustable-arc spray | Twist the collar | Top screw, about 25% max reduction | Flat screwdriver |
| Gear rotor | Maker’s key from the fixed stop | Radius screw, up to 25%; max five turns in (Hunter PGP) | Maker’s rotor key |
| Rotary nozzle | Twist with the zone on | Radius screw | Flat screwdriver |
| Impact head | Trip collars | Deflector or diffuser pin | By hand |
Before you put the tools away, run every zone once from start to finish, not just the heads you touched. Adjusting one head changes its neighbours’ pressure and coverage. Walk each zone while it runs, check the arcs against driveways and walls, and confirm head-to-head overlap.
For the current watering schedule that applies when the system runs, see our Palm Coast watering days guide. This post does not restate the schedule; that guide is the single source for it.
Most adjustment work is undone by one of three mistakes. They are easy to make, because each one feels like the right move at the time.
Guessing an arc with the water off, then turning the zone on to check, wastes a cycle every time and usually lands the spray in the wrong place. Adjust with the zone running, watch the pattern change, and stop when the water lands where you want it.
Turning a radius screw past its limit breaks the spray into mist that the wind carries away, and on a rotor it can work the screw out entirely. Respect the roughly 25% reduction limit on sprays and the five-turn limit on a Hunter PGP rotor, and swap the nozzle when the throw needs to be shorter than that.
Stop direction and tools differ between Rain Bird, Hunter and Toro. Using another brand’s key, or turning the arc the wrong way from the wrong stop, can crack a turret or leave the arc set to the wrong edge. Read the brand’s guide for your head before you turn anything.
Call a pro when a head will not adjust at all, when pressure stays low after the simple checks, when a zone needs splitting or re-piping, or when the work is on a property that is not your own home — HOAs, rentals and commercial properties should use a licensed contractor. A coverage audit resets arcs, radii and pop-up heights across the whole system.
Keep your face and eyes out of the spray while you adjust, and keep children and pets off the zone while it runs. Do not reach across a running head to adjust its neighbour. If you need to swap a nozzle or a head rather than adjust it, turn that zone off first, then back on to test the new part.
We adjust, repair and audit sprinkler heads across Palm Coast and Flagler County through our sprinkler head services. A coverage audit runs every zone, resets arcs and radii, and catches the pressure and height problems adjustment alone cannot fix.
Call (386) 237-2983 for a visit within 24–48 hours. Irrigation & Sprinkler by DreamScapes has served Palm Coast since 2015, with 930+ customers, from 15 Hargrove Ln, Unit 5D, Palm Coast, FL 32137.
Turn the zone on first. On a spray head, pull the riser up and turn the nozzle body so the fixed edge points where the spray should start, then twist the collar on an adjustable-arc nozzle to set the arc. On a rotor, turn the turret by hand to aim the fixed stop, then set the arc with the maker’s key.
Turn the radius screw counter-clockwise to open the throw, but only within the head’s limit — about 25% reduction on a spray nozzle, and no more than five turns in on a Hunter PGP rotor screw. If the head still throws short, the cause is usually pressure, a clogged nozzle, or the wrong nozzle, not the adjustment.
Set the arc so the fan stops at the edge of the concrete, and use a strip nozzle along narrow areas instead of a round pattern. Check the pattern with the zone running, and re-check after mowing, because a crew can nudge a head back toward the driveway.
The maker’s rotor key for your brand. Hunter, Rain Bird and Toro use different keys and different stop directions, so check the brand stamped on the head and use its key. A flat screwdriver handles the radius screw on most spray nozzles.
On a rotor, the arc may be set narrower than you think, or the fixed stop may be aimed at the wrong edge. On any head, sand in the riser or a worn gear can stop the turn. Clean around the head, confirm the fixed stop, and reset the arc with the maker’s key before assuming the head is broken.
Yes. Every adjustment in this guide is done with the zone running, so you can see where the water actually lands as you turn. The only exception is swapping a nozzle or a head: turn that zone off for the swap, then turn it back on to test.