⭐⭐⭐⭐⭐930+ Happy Customer Reviews
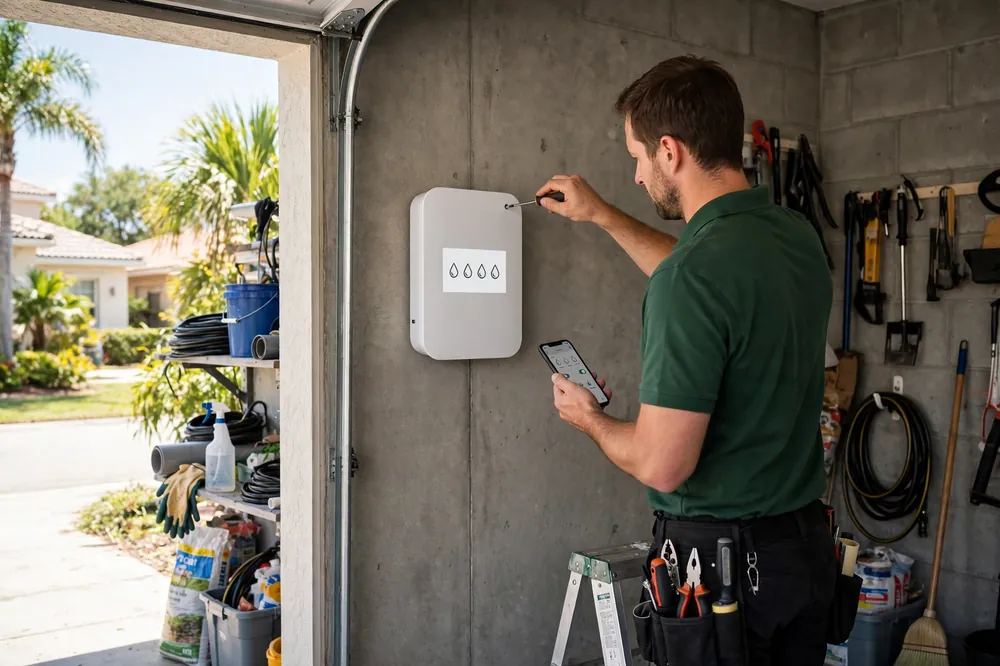
To automate an irrigation system, install a controller, give each zone an electric solenoid valve wired back to it, and add a rain or soil-moisture sensor. On well systems, connect the pump through a pump start relay. If you already have a timer, swapping it for a smart controller is the fastest upgrade.
Key takeaways:
Automation is three parts working together, nothing more exotic than that. A controller decides when each zone runs and for how long. Electric solenoid valves open and close each zone on the controller’s signal. A sensor — rain, soil-moisture, or both — tells the controller to skip a cycle when the yard does not need water. The practical question is what your yard already has and what is missing — answer that and the upgrade path picks itself. See our automatic sprinkler guide for garden beds for how automation helps planted areas specifically.
Most Palm Coast yards fall into one of three buckets. Bucket one: hose or manual valves only. You turn valves by hand, or you drag a hose. You need the full conversion: valves, wire, controller, sensor. Bucket two: an automatic system with an old dial timer. The valves and wiring already exist, so the job is mostly a controller swap plus a sensor check. Bucket three: a working system that needs smart features. The hardware is fine; you need weather-based scheduling, app control, or a flow sensor. Work out which bucket you are in before buying anything, because a smart controller cannot fix a yard with no electric valves, and new valves are wasted money on a system whose timer is the only problem. Fix bad zone layout first; see our zones guide before you automate a bad layout.
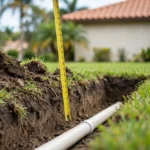
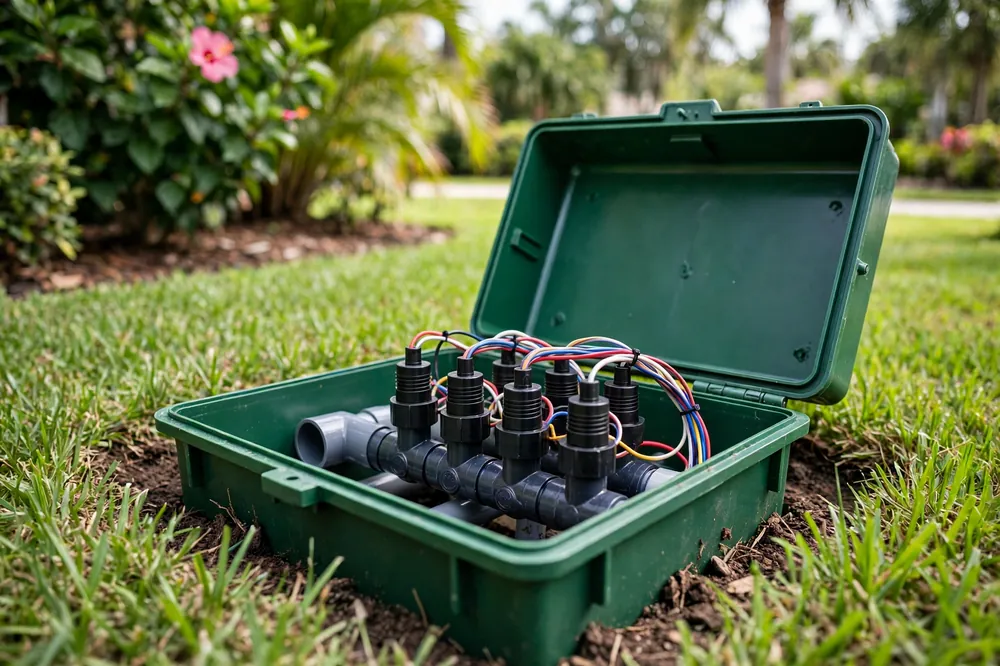
Manual-to-automatic conversion means replacing each hand valve with a solenoid valve, or fitting a manual-to-automatic converter valve where the manifold allows it. The new valves sit in a valve box, grouped on a manifold so one person can reach them all. From there, a multi-conductor irrigation wire runs back to where the controller will live — usually the garage — with one wire per zone plus a shared common wire.
The wire must be buried or protected where it crosses lawn and beds, and every splice needs a waterproof connector; a dry splice fails in the August rain, leaving a zone that runs only sometimes. This is the path where most homeowners should stop and hire out: the valves, the wire run, and the box placement are all easy to get slightly wrong and annoying to redo. If a valve box already holds standing water, that fault comes first — see our valve box guide — because automating a leaking manifold just schedules the leak. Our solenoid replacement guide shows what the valve end of this job looks like.
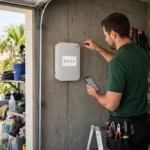
This is the fastest upgrade and the one most homeowners can do themselves, provided the power side is already a plug-in transformer and not a hardwired 120V unit — hardwired power is pro work. Work in this order:
Keep the old timer and its wiring photo for a month.
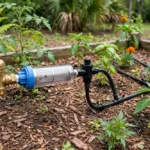
If the controller and valves already work, the upgrade is sensing, not hardware. A wireless rain sensor mounts on an eave or fence post where rain actually falls on it — not under a roof overhang, where it stays dry while the lawn soaks. A soil-moisture sensor sits in the root zone of a representative area, not the wettest or driest corner.
A freeze sensor matters less in Palm Coast than up north, but a flow sensor earns its keep on larger systems: it notices a zone drawing far more water than usual, which usually means a broken head or a split lateral, and shuts that zone down before the water bill arrives. Florida requires a working rain or soil-moisture sensor on automatic systems installed after May 1, 1991, and contractors must test it on service calls — so a sensor that is installed but dead is not compliance, it is a decoration. Test it: wet the sensor and confirm the controller skips the next cycle.
Palm Coast runs on all three water sources — city, well, and reclaimed — and well systems change the automation job. A controller cannot start a pump the way it opens a valve. The pump starts through a pump start relay wired to the controller’s pump or master valve terminal: the controller energizes the relay, the relay closes the pump’s power circuit, and the pump runs while any zone is open.
Two rules matter more than any other detail. First, the pump must never run against closed valves — a pump running with nowhere for the water to go overheats fast, so the relay wiring and the valve wiring must be checked together, not separately.
Second, a well pump and a pressure-switch system are different setups: if your pump runs on a pressure switch and tank rather than a relay from the controller, say so before anyone quotes the job, because the wiring plan changes. See our sprinkler pump services if the pump side of your system needs attention before automation makes sense.
The honest comparison is not smart versus dumb; it is fixed schedule versus a schedule that reacts. A basic timer waters on the days and times you set, rain or shine, unless a sensor stops it. A weather-based smart controller adjusts run times from local weather and seasonal change, skips cycles after rain, and lets you change a program from your phone instead of standing in the garage with a dial.
A soil-moisture controller goes one step further and waters on what the soil actually measures, not on what the forecast guessed. What a smart controller cannot do is fix bad zone layout, a failed valve, or a pump that will not start — it schedules the system you have, faults included. If zones, valves, and pump are sound, the upgrade pays back in water saved; if not, fix them first and let the controller be the last purchase, not the first.
Automation only helps if the program follows the rules. In the St. Johns River Water Management District area, landscape watering is limited to assigned days and no watering is allowed between 10 a.m. and 4 p.m. — but assigned days and any current restrictions change, so check the current SJRWMD schedule for your address before programming anything, and set the controller to those days rather than to a generic weekly pattern.
Water early in the morning, before the heat and wind steal it. On Palm Coast’s sandy soil, short runs make more sense than the long soaks clay soil needs: sand drains fast, so water applied faster than the soil can take it runs off or drains past the roots. Use cycle-and-soak only where it fits — repeated short bursts with pauses — and set seasonal adjust so winter run times drop instead of watering a dormant lawn like it is July.
Cost depends on which path you are on, and any figure quoted without knowing your starting point is a guess. A controller swap alone costs the controller plus an hour or two of work. A manual-to-automatic conversion costs valves, a manifold, a valve box, wire, and the labor to trench and connect them — the wire run and the number of zones drive that number more than the controller does.
A well system adds the pump start relay and its wiring. Get installed pricing quoted for your yard; the honest quote names the controller model, valve count, and wire length. On the rebate side, SJRWMD’s water conservation rebate program pays up to 50% of eligible costs, including installation, for HOAs, property owner associations, local governments, and multi-family properties — WaterSense-labeled smart controllers and rotary nozzles qualify — and Palm Coast has many HOA neighborhoods.
Single-family homes qualify only through local programs, so check what your city or utility offers before assuming a rebate. Our sprinkler system cost guide explains what drives installed prices across the system.
Draw the line at power and water, not at confidence. A plug-in controller swap with labeled wires is DIY-friendly. New valves, wire runs, pump relay wiring, and any hardwired 120V unit are pro work — the failure mode for a bad relay job is a burned-out pump, which costs far more than the labor saved. A pro visit also buys a second pair of eyes on the whole system: zone layout, valve condition, sensor placement, and the program itself. Still book a check after the first month of running. See our installation page and maintenance page for what a professional visit covers.

Most automation failures are wiring failures, and most wiring failures are boring. The common wire is the one people forget: every valve needs it, and a loose common terminal takes out every zone at once, which looks like a dead controller but is a single screw. Zone wires swapped at the terminals produce the classic symptom of the front lawn watering on the back lawn’s schedule — the system works perfectly, on the wrong zones.
Sensor wires landed on the wrong terminals leave the sensor ignored, so the controller waters through rain and the homeowner blames the controller. Label every wire at both ends, tug each wire once to confirm it holds, and keep the wiring photo with the controller manual.
Run each zone manually from the controller and walk it. Heads pop up, coverage looks right, no zone stays dry. A zone that only runs from a manual bleed screw has a wiring or solenoid fault, not a programming problem.
Wet the rain sensor or trigger the soil sensor, then confirm the next scheduled cycle skips. A sensor that is wired but never tested is the most common automation disappointment: the hardware is there, the behavior is not.
On a well system, watch one full cycle: the pump starts only when a zone opens and stops when the last zone closes. If the pump runs with no zone open, stop and fix the relay wiring before running the system again.
Manual valves and no controller: budget for the full conversion and hire it out — valves, wire, controller, sensor, and a program set to the current watering rules. Old timer with working valves: swap the controller, check the sensor, and test every zone; this is the best value upgrade in irrigation.
Working system, no smart features: add sensing first, then a smart controller only if you want app control and weather-based scheduling. Well system on any path: confirm the pump start relay plan before anyone touches a wire. And on every path, the last step is the same — a program that follows the current SJRWMD days and hours, tested zone by zone, not assumed.
Walk the yard before ordering hardware. Count your zones and note which valve or hose bib feeds each one. Photograph the controller, the valve box, and the pump setup. Check whether the sensor still works and whether any valve box holds water. That ten-minute walk turns a vague upgrade into a parts list — and it is the same information a pro needs to quote the job accurately.
We upgrade irrigation systems across Palm Coast, Flagler Beach, Ormond Beach, and Bunnell — controller swaps, manual-to-automatic conversions, pump relay wiring, and sensor installs, programmed to the current watering rules.
Call (386) 237-2983 for an automation check: we will map your starting point, test your valves, wiring, and pump, and quote the exact path your yard needs — controller only, conversion, or sensors — before you buy any hardware.
Yes, in almost every case. If the pipes and heads are sound, automation means adding electric solenoid valves, a controller, and a sensor — or just swapping an old timer for a smart controller if valves and wiring already exist. The pipes do not need replacing to automate.
Not directly. A timer alone cannot open a manual valve. You need electric solenoid valves wired to the controller first, or manual-to-automatic converter valves where the manifold allows it. Once the valves are electric, any standard controller can run them.
They save water when the system they control is sound. Weather-based controllers skip cycles after rain and adjust run times seasonally, and WaterSense-labeled controllers are tested for that performance. They cannot save water on a system with broken heads, a failed valve, or bad zone layout — fix those first.
Yes, through a pump start relay wired to the controller’s pump or master valve terminal. The controller energizes the relay, which starts the pump while a zone is open. If your pump runs on a pressure switch and tank instead, tell your installer before quoting — the wiring plan is different.
Florida law requires a working rain or soil-moisture sensor on automatic irrigation systems installed after May 1, 1991, and contractors must test it on service calls. A sensor that is installed but dead does not meet the requirement — test it by wetting it and confirming the next cycle skips.
A plug-in controller swap with labeled wires is DIY-friendly: photograph and label every wire, kill power, wire common first, then zones, sensor, and pump terminal, and test every zone by hand. New valves, wire runs, pump relay work, and hardwired 120V units are pro work.
SJRWMD’s water conservation rebate program pays up to 50% of eligible costs, including installation, for HOAs, property owner associations, local governments, and multi-family properties, and WaterSense-labeled smart controllers qualify. Single-family homes qualify only through local programs — check your city or utility first.