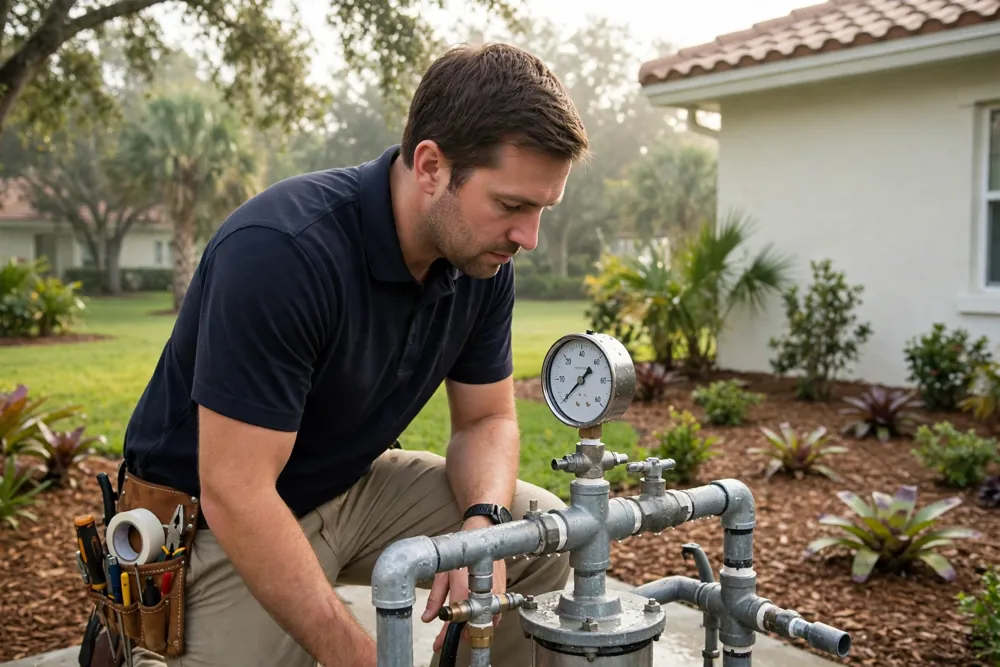

Turn off the power, watch the gauge through one full cycle, and confirm the pump starts at cut-in — usually 30 or 40 PSI — and stops at cut-out, usually 50 or 60 PSI. Then check the contacts, the sensing tube, and the tank’s air charge. That sequence tells you whether the switch itself is at fault before you spend anything on a part.
Key takeaways:
- Many Florida irrigation pumps have no pressure switch at all — they run on a pump start relay from the controller.
- Set tank air charge 2 PSI below cut-in, measured with the tank empty.
- Adjust the range nut first, then the differential nut — never above the pump’s rated maximum.
- Most irrigation pumps run on 240V: keep DIY checks to gauge, visual, and power-off tests.
What an Irrigation Pump Pressure Switch Does
A pressure switch is a small electrical control that turns a pump on and off by water pressure. When pressure in the system falls to the cut-in setting, the switch’s contacts close and the pump starts. When pressure rises to the cut-out setting, the contacts open and the pump stops. The two numbers are always a pair: a 30/50 switch cuts in at 30 PSI and out at 50 PSI, and a 40/60 switch cuts in at 40 and out at 60. Everything in this guide — the gauge readings, the adjustment nuts, the tank charge — comes back to that pair.
Does Your Irrigation Pump Have a Pressure Switch?
Before you hunt for a switch, check whether your system even has one. Many Florida irrigation wells run on a pump start relay: the controller sends a signal, the relay closes, and the pump runs for as long as the zone runs — with no pressure switch and no pressure tank in the circuit at all. A pressure switch setup looks different: a small grey box mounted on or beside the pump, wired to the motor, with a pressure gauge nearby and usually a pressure tank in the line. If you find a relay box wired to the controller and no tank and no gauge, stop here — there is no switch to check, and your fault lies in the relay, the controller, or the pump itself. See our components guide for how each setup is plumbed.
Signs Your Pressure Switch Is Failing
A failing switch rarely fails silently. Match what you see to the first check in this table before you touch any adjustment — most of these symptoms have a cheaper cause than a dead switch.
| Symptom | Likely cause | First check |
|---|---|---|
| Pump won’t start | Burned or welded contacts, no power, clogged sensing tube | Breaker, then contacts with power off, then the tube |
| Pump won’t stop | Contacts welded shut, sensing tube blocked, waterlogged tank | Gauge reading, then the tube, then tank charge |
| Short cycling — on and off every few seconds | Waterlogged tank, wrong air charge | Tank pre-charge with the tank empty |
| Clicking but the pump won’t run | Pitted contacts, failed capacitor, seized pump | Contacts, then call a pro — don’t keep cycling it |
| Low pressure at the heads | Switch cutting out too low, clogged tube, supply fault | Gauge through a full cycle; see our low pressure guide |
Tools You Need
Screwdriver, nut driver, multimeter, tire gauge, and a non-contact voltage tester. Nothing else is needed for the checks in this guide, and nothing here requires opening a live panel. If you don’t have a multimeter, skip the continuity check entirely — the gauge, visual, and tube checks below still narrow the fault down in most cases.
How to Check the Pressure Switch in 6 Steps
Step 1: Kill the power at the breaker and confirm it is dead. Most irrigation pumps run on 240V, which is not a voltage to learn on. Switch the pump breaker off, then confirm with a non-contact voltage tester at the switch before you touch anything inside it. Every step after this one assumes the power is off.
Step 2: Read the gauge through one full cycle. Restore power, open a zone or a tap so the system draws water, and watch the gauge. Note the pressure where the pump starts (cut-in) and where it stops (cut-out), and compare both to the switch’s rating. A pump that starts late, stops early, or never reaches cut-out has already told you most of the story.
Step 3: Inspect the contacts for pitting, burning, or ants. Power off again, open the switch cover, and look at the contact points. Light pitting is normal wear; heavy blackening, melted spots, or a nest of ants bridging the contacts are not. Filing burned contacts can buy a little time, but it is a stopgap, not a repair — burned contacts come back, usually at the worst moment.
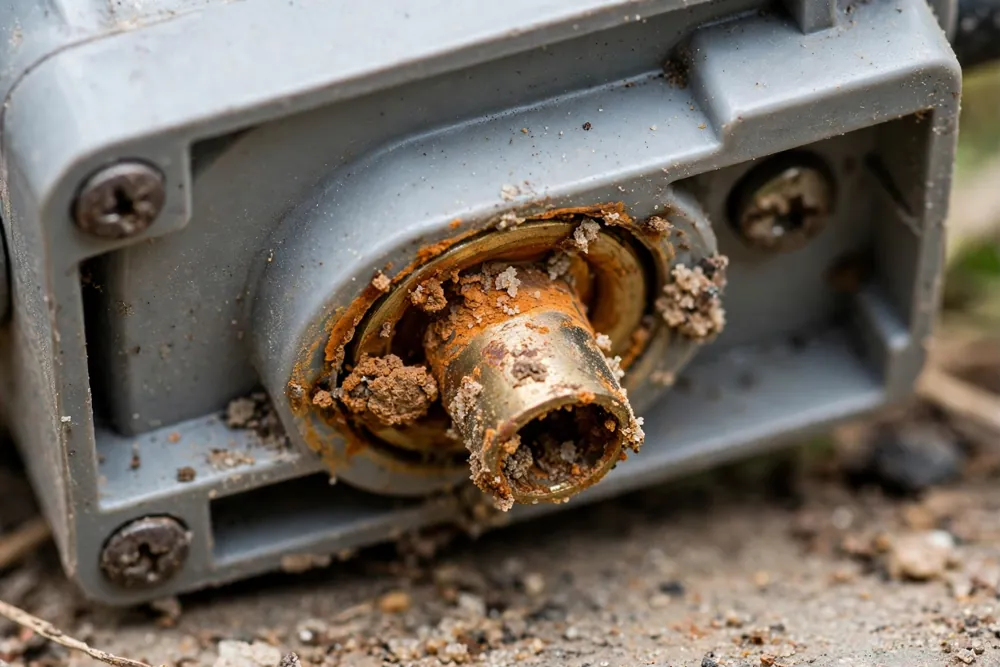
Step 4: Check the sensing tube for sand, iron, and corrosion. The switch reads pressure through a small 1/4-inch nipple and tube underneath it, and in Palm Coast well water that passage clogs with sand and iron. A blocked tube leaves the switch blind: it cannot feel pressure falling or rising, so the pump runs wrong or not at all. Galvanized nipples are the worst offenders — they corrode shut from the inside. Clear or replace a clogged nipple with the power off.
Step 5: Test continuity with the power off. With the breaker off and the tester confirming it, use a multimeter across the switch contacts: they should show continuity when the switch is closed (pump should be running) and none when it is open. A switch that stays open or closed regardless of pressure has failed internally. Never do live voltage tests as a homeowner — if a live test is what stands between you and an answer, that is the point to call a pro.
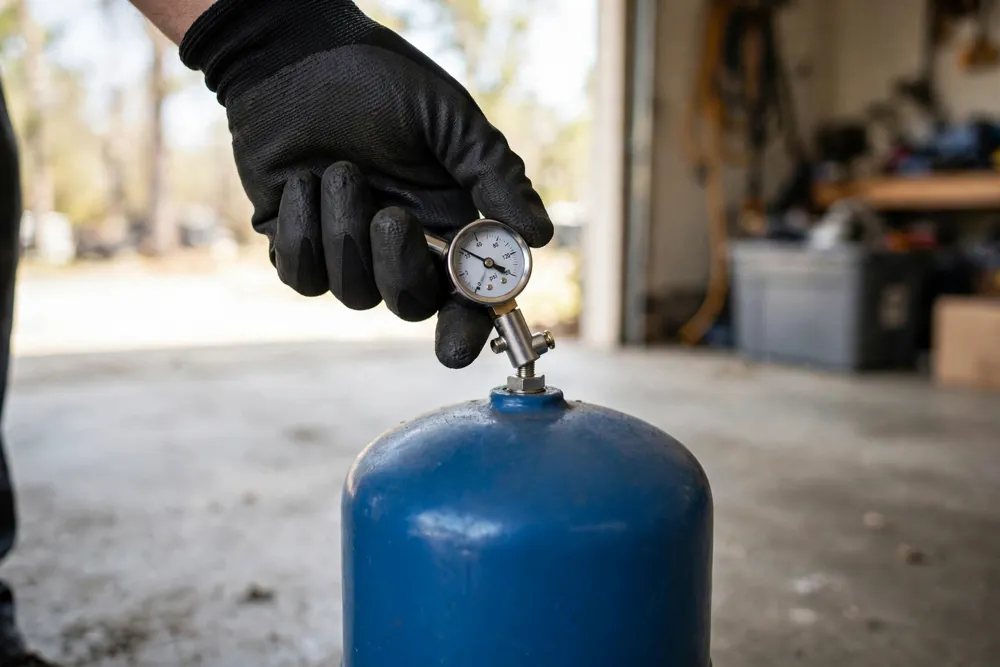
Step 6: Check the tank pre-charge, 2 PSI below cut-in, with the tank empty. Drain the tank completely, then read its air charge with a tire gauge on the air valve. It should sit 2 PSI below your cut-in pressure — 28 PSI for a 30/50 switch, 38 PSI for a 40/60 switch. A waterlogged tank with no air cushion forces the pump to cycle every few seconds, and that cycling is what kills switches. If the charge won’t hold, the tank’s bladder has usually failed, and the tank — not the switch — is the repair.
How to Adjust Cut-in and Cut-out Pressure
Adjust in the right order or you will chase your own settings. On a typical switch there are two nuts: the larger range nut moves cut-in and cut-out together, and the smaller differential nut moves cut-out only. Turn the range nut first to set cut-in where you want it, then the differential nut to set cut-out. As a rule of thumb on a common Square D type switch, about 3.5 turns of the range nut changes pressure by roughly 10 PSI — but that figure varies by model, so check your own switch’s instructions and re-read the gauge after every small adjustment. Two hard limits: never set cut-out above the pump’s rated maximum pressure, and never adjust with wet hands or with the cover off and power on.
Why Palm Coast Well Water Is Hard on Pressure Switches
Palm Coast wells draw shallow, sandy, iron- and sulfur-bearing water, and that water is the switch’s daily enemy. Sand scores the sensing tube shut, iron plates it closed, sulfur corrodes fittings, and salt air corrodes the switch housing and terminals from outside. Add year-round watering — Florida systems rarely get a winter rest — and a switch here cycles far more in a year than the same switch would up north. Lightning is the other local killer: a strike nearby can weld contacts or burn the switch outright, so a switch that fails right after a storm deserves a different suspicion than one that faded slowly. None of this makes the switch a bad part; it makes the tube and tank checks above a routine, not a one-off.
Repair or Replace the Switch?
File contacts once as a stopgap if you must, but treat it as borrowed time. Replace the switch when contacts are burned or welded, when it fails the power-off continuity test, or after roughly 5 to 7 years of heavy cycling — a switch that has short-cycled behind a waterlogged tank has lived several lifetimes already. The switch itself is a small part; the value of a pro visit is the diagnosis that stops you replacing a switch when the real fault is the tank, the tube, or the relay. Ask for the diagnosis before the part, and confirm the price of the visit before booking — don’t guess at figures from a guide.
When to Call a Pro
Call a pro if the breaker trips when the pump starts, if you smell burning or see melted wiring, if the pump hums but won’t turn, if the tank won’t hold air charge, or if you have worked through all six steps and the readings still don’t make sense. Live voltage testing, capacitor replacement, and anything inside the motor are pro work, not homeowner work. Our sprinkler pump services page covers diagnosis and replacement across Palm Coast, and our pump lifespan guide helps you judge whether a failing switch is the end of the story or just one chapter.
A Check Worth Repeating Every Season
Once a year, and after any nearby lightning strike, repeat steps 2, 3, and 6: gauge through a full cycle, contacts with the power off, and tank charge with the tank empty. That ten-minute routine catches a clogging tube before it strands a zone and a dying tank before it kills a switch. While you are there, confirm the system still waters on the current SJRWMD schedule for your address — check the current watering days rather than relying on last year’s rule — and that no zone runs between 10 a.m. and 4 p.m., the standard daytime watering window restriction used in earlier guides.
After the Check: What to Write Down
Write the numbers down while they are fresh: cut-in, cut-out, tank charge, and the date. Next time the pump misbehaves, those four numbers tell you — or a technician — whether the switch has drifted, the tank has lost charge, or something new has gone wrong, without repeating the whole diagnosis from scratch. Tape the note inside the switch cover or beside the tank, where the next person to open it will actually find it.
Three Checks That Save a Service Call
Check 1: The Breaker and the Relay First
A tripped breaker, a failed pump start relay, or a controller that never sent the start signal all look exactly like a dead switch from the lawn. Confirm the breaker is on, the controller is calling for the zone, and — on relay systems — that the relay clicks when the zone starts. If the relay never clicks, the switch was never the suspect.
Check 2: The Tank Before Condemning the Switch
Short cycling is blamed on switches far more often than switches deserve it. A waterlogged tank or a charge set at cut-in instead of 2 PSI below it makes any healthy switch cycle itself to death. Test the tank empty before you buy a switch — it is the cheaper part to be wrong about.
Check 3: The Sensing Tube Before Buying a Switch
A switch that cannot feel pressure cannot switch correctly, and a clogged 1/4-inch nipple is the most common reason a switch “goes wrong” in iron-bearing well water. Clear the tube, re-read the gauge through a full cycle, and only then judge the switch itself.
Quick Reference: Settings at a Glance
30/50 switch: cut-in 30 PSI, cut-out 50 PSI, tank charge 28 PSI empty. 40/60 switch: cut-in 40 PSI, cut-out 60 PSI, tank charge 38 PSI empty. Range nut first (moves both settings), differential nut second (cut-out only), roughly 3.5 turns per 10 PSI on a common Square D type — verify against your own switch’s instructions. Never exceed the pump’s rated maximum, and never test live voltage as a homeowner. If a zone valve sticks open while you are testing, see our solenoid replacement guide before assuming the switch is at fault.
If the Pump Still Won't Behave After the Check
If the switch passes, the tube is clear, and the tank holds charge, look upstream and downstream of the switch. A weak start capacitor makes the pump hum without starting; a failing pump start relay never sends power at all; a leaking foot valve or check valve lets pressure bleed away between cycles and mimics a switch fault; and a falling well level starves the pump no switch can fix. At that point further guessing costs more than a diagnosis — and if the pump itself is ageing, our repair-or-replace guide frames the wider call on the whole system, not just one part.
Pump Still Cycling or Not Starting? Let Us Diagnose It
We inspect irrigation pumps across Palm Coast and Flagler County every week — switches, tanks, relays, and full-cycle gauge readings, so you get a diagnosis before you pay for a part.
Call (386) 237-2983 for a pump inspection: we will run the six checks above, test the tank charge, and tell you whether the fix is a switch, a tube, a tank, or something upstream — before you spend on anything else.
Frequently Asked Questions
Work the six checks in this guide: gauge through a full cycle, contacts with the power off, sensing tube, power-off continuity, and tank charge. A switch that stays open or closed regardless of pressure, or whose contacts are burned or welded, has failed. But check the tube and tank first — both mimic a bad switch and both are cheaper fixes.
Most residential irrigation setups use a 30/50 or 40/60 switch — cut-in at 30 or 40 PSI, cut-out at 50 or 60 PSI. Match the setting to your pump’s rated maximum and your system’s needs, and never set cut-out above the pump’s rating. Your existing switch’s rating is printed on its cover or label.
Clicking means the switch is trying to close, but power is not reaching a turning motor. Suspects in order: pitted or burned contacts, a failed start capacitor, a seized pump, or a wiring fault. Stop cycling it — repeated clicking on a seized pump can overheat the motor — and call a pro if the contacts look clean.
Short cycling is usually a waterlogged pressure tank or a tank charge set wrong, not the switch itself. Drain the tank, set its air charge 2 PSI below cut-in, and retest. If the tank won’t hold charge, its bladder has failed and the tank needs replacing.
Light cleaning is fine and filing burned contacts can buy time, but it is a stopgap, not a repair — burned contacts return, usually quickly. If contacts are melted, welded, or heavily pitted, replace the switch rather than filing it again.
On a healthy system with a correctly charged tank, several years is normal; on a system that short-cycles behind a waterlogged tank, a switch can fail far sooner. Heavy cycling is the main life-shortener — fix the tank and the switch lasts longer. See our pump lifespan guide for the wider picture.
Yes. Set tank air charge 2 PSI below cut-in — 28 PSI for a 30/50 switch, 38 PSI for a 40/60 switch — and always measure it with the tank drained empty. Measuring with water still in the tank gives a false reading and a wrong charge.
Latest Articles
Irrigation Well vs City Water
Sprinkler System Troubleshooting
Types of Sprinkler Heads
Reclaimed Water Irrigation