⭐⭐⭐⭐⭐930+ Happy Customer Reviews
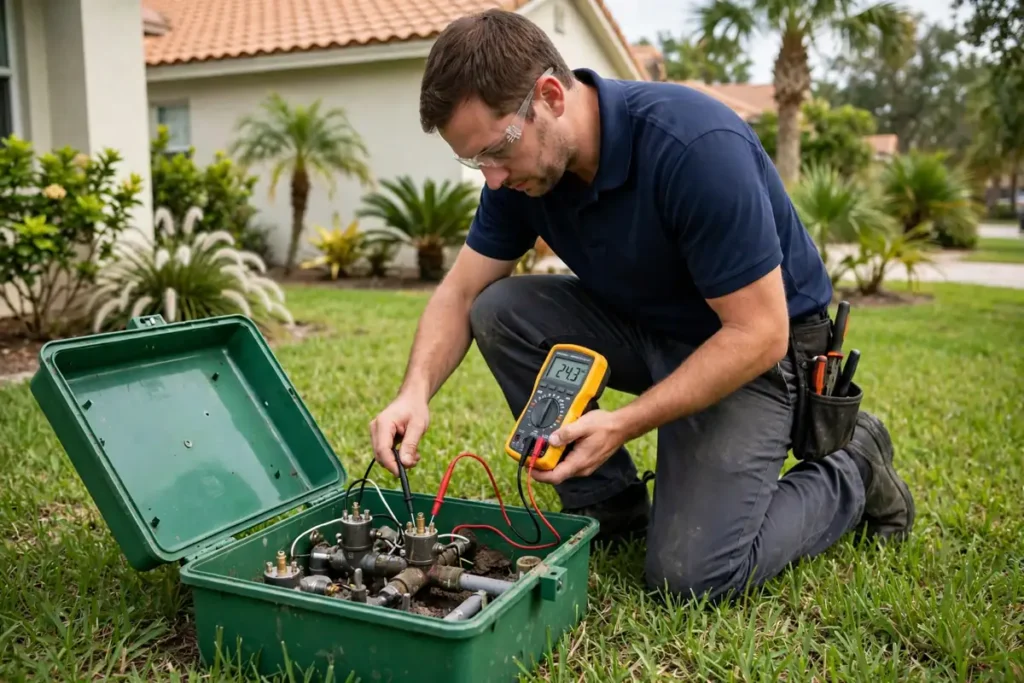
Start troubleshooting by running each zone manually and watching it. One bad zone points to its valve or wiring; every zone failing points to the controller, power, pump, or main supply. Find your symptom below for the first check and the full fix.
Key takeaways:
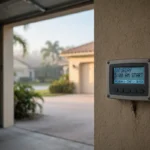
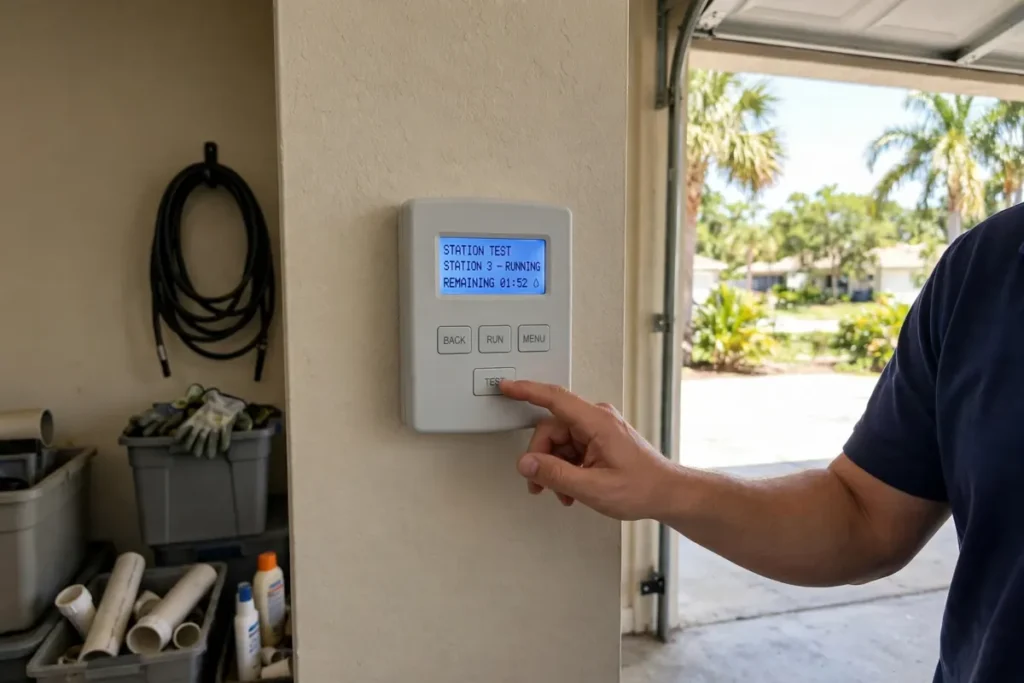
Set the controller to manual and run each zone for two minutes. Walk the zone while it runs. Note which heads pop up, which stay down, where the spray looks weak or uneven, and where water pools. Then check the controller display for an error, a blank screen, or a zone that shows as running when nothing moves outside.
This check works on homes in Palm Coast and Flagler County alike, because it separates the two questions that matter: is the fault in one zone, or in the whole system? One bad zone sends you to that zone’s valve, solenoid, and wiring. Every zone failing sends you to power, the controller, the rain sensor, the pump, or the main supply. Write the result down before you touch anything.
Use this map to jump straight to your section. Each row gives the first check you can do yourself; the section gives the full fix and the deeper guide where one exists.
| Symptom | First check | Go to |
|---|---|---|
| Zone won’t turn on | Run it manually at the valve; check the controller station and wire | Zone won’t turn on |
| Zone won’t shut off | Turn the controller off; if it still runs, shut the main valve | Zone won’t shut off |
| No zones run | Controller power, transformer, rain sensor bypass, master valve or pump relay | No zones run |
| Heads won’t pop up | Pressure, debris, worn seal | Heads and pressure |
| Low pressure or weak spray | Too many heads, filter, leak, pump | Heads and pressure |
| Soggy spots, high water bill | Leak on a mainline or lateral | Leaks and bills |
| Valve box full of water | 48-hour test: does the water stay, drain, or return? | Leaks and bills |
| Pump short cycles or won’t start | Gauge, tank pre-charge, pressure switch | Pump and well |
| Yellow or dry patches | Coverage pattern, catch-cup test | Heads and pressure |
| Lawn always wet, fungus | Run times, rain sensor, stuck valve | Zone won’t shut off |
| Backflow leaking or gushing | Shut it off, check for a freeze crack | Pump and well |
| Drip zone misting or bursting | Pressure reducer missing | Clogged heads |
| Clogged heads on reclaimed or well water | Filter, flush | Clogged heads |
| System runs on the wrong day | Controller schedule, daylight-saving change | Wrong day |
Start at the valve, not the controller. Open the valve manually with its bleed screw or manual lever: if the zone runs, the valve and the water supply are fine, and the fault is electrical — a bad solenoid, a broken wire, or a controller station that is not sending power. If the zone still will not run, check the main supply and the valve itself before you buy anything.
A solenoid that reads far outside the normal range, or one that clicks but never lifts, is the usual culprit, and our solenoid replacement guide walks through testing and swapping it. One zone down while the rest run normally almost always means that zone’s valve or wiring, not a system-wide failure.
A zone that will not shut off is the most urgent fault on this page. A stuck zone can waste thousands of gallons in a day, and it breaks the one-day watering rule, so stop the water before you diagnose anything. First, turn the controller off: if the water stops, the fault is in the controller or the schedule, not the valve. Do not keep cycling the controller on and off hoping the zone resets — each cycle runs more water through the same stuck valve.
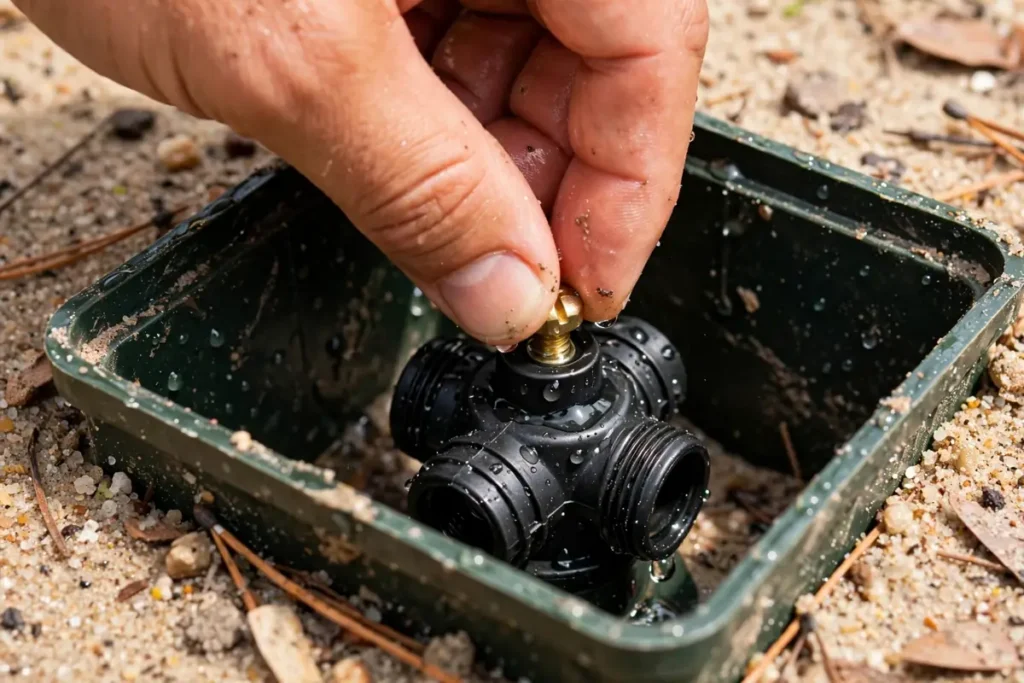
If the water keeps running with the controller off, the valve is stuck open. Close the manual bleed screw a quarter-turn and check the flow-control handle, and note whether either one changes the flow at all: a bleed screw that does nothing often points to dirt in the bleed port itself. If neither control stops it, shut the irrigation main valve — that stops the waste while you work, and it is the step to take before you open the valve box. The usual causes are grit under the diaphragm, a torn diaphragm, a failed solenoid plunger, or dirt in the bleed port.
Grit holds the diaphragm slightly open so water keeps passing even when the solenoid is de-energised; a torn diaphragm cannot seal at all; a failed plunger stays lifted or will not lift cleanly; dirt in the bleed port stops the small pressure release that lets the diaphragm close. The fix is to clean or rebuild the valve: shut the water, open the valve, rinse the diaphragm and the bleed port, check the diaphragm for tears or warping, and reassemble it carefully. Then test the solenoid with the wires disconnected: a healthy solenoid reads about 20–60 ohms, per Sprinkler Warehouse.
A reading far outside that range, or a plunger that stays stuck, means the solenoid needs replacing rather than another clean. Call a pro if the valve body is cracked or if the zone runs from more than one valve, because those jobs need parts and isolation work that a quick clean will not fix. This section is the hub summary only; the full valve-box diagnosis, including the 48-hour standing-water test, sits in our valve box guide.
When nothing runs, work from the wall outward. Check that the controller has power and its display is alive, then the transformer and the outlet it feeds from — a tripped breaker or a failed transformer after a storm is common in Florida, and lightning damage to controllers is a real local cause. Bypass the rain sensor briefly: if the system runs with the sensor bypassed, the sensor is holding it off. Next, check the master valve and the pump start relay, if your system uses them, because a failed relay stops every zone at once. Our automate guide covers smart-controller and relay setup in depth; read it once power and sensor checks are done, so you are not reprogramming a system that has no power.
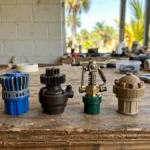
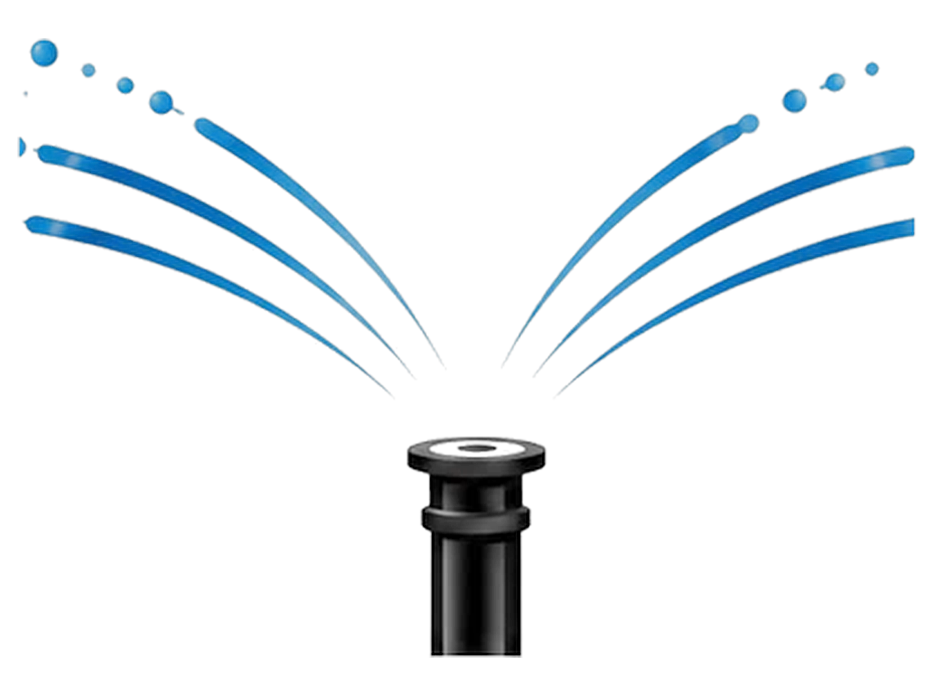
Heads that will not pop up usually mean low pressure, debris in the head, or a worn seal. Clean the filter and nozzle first — sandy soil and grit get into heads faster than most homeowners expect — then check whether too many heads share one zone. Low pressure across a whole zone points to a filter, a leak, or a pump that can no longer keep up, and our low-pressure guide works through those causes in order. For yellow or dry patches, run a catch-cup test: cups across the zone, 15 minutes, compare the depths. Uneven cups mean uneven coverage, usually head spacing, a clogged nozzle, or mismatched heads on one zone.
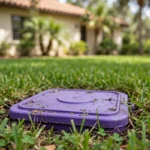
A soggy patch that never dries, or a water bill that jumps with no change in use, usually means a leak on a mainline or a lateral. Walk the yard after a run and look for the wettest point, then check the valve boxes: a box that stays full of water is a strong clue, and the 48-hour test — does the water stay, drain, or return? — tells you whether the leak is in the valve or the pipe. Our leak detection guide walks through finding it without digging up the whole yard. Do not ignore a small leak: in sandy soil it can wash out support under a path or driveway long before the surface shows it, and a mainline leak keeps wasting water even when the controller is off.
A pump that short cycles — starting and stopping every few seconds — usually means the pressure tank has lost its air charge or its bladder has failed, and left alone it burns out the motor. A pump that will not start points to power, the pressure switch, or the pump start relay. Check the gauge first, then the tank pre-charge, then the pressure switch: our pressure switch guide covers the test and the safe pre-charge rule.
Backflow assemblies that leak or gush need shutting off promptly, because a cracked body can waste a large volume and let contaminants back toward the supply; the backflow guide covers the checks. On well systems, check the filter and suction side first: iron and sand clog heads and shorten pump life.
Reclaimed water carries extra sediment and algae, so heads on a reclaimed system clog faster than heads on city water. Clean or add a filter, flush the heads, and check the valve for grit — the same grit that clogs a nozzle can hold a valve diaphragm open. Our reclaimed-water guide explains the rules and the care routine in full at reclaimed water for irrigation in Palm Coast. Well water brings a different clog: iron and sand, which stain as well as block.
A drip zone that mists or bursts is a separate pressure problem — the zone is almost certainly missing its pressure reducer — and the drip pressure guide covers that fix. The well-versus-city-water decision guide publishes after this hub, so its link is noted for adding later rather than linked here as live.
If the system runs on a day it should not, check the controller schedule first, then whether a daylight-saving change shifted it. Do not guess the current rules from memory: the current watering days are listed in our Palm Coast watering days guide, which is the single source for the schedule — this hub deliberately does not restate the days or hours. If the schedule looks right but the system still runs wrong, check for a second program or a manual override left on, and confirm the rain sensor is not bypassed in a way that lets a test run become a full cycle.
Use this table before you start. Safe DIY jobs need only basic tools and a shut-off you can reach; the rest are cheaper when a pro does them once.
| Safe to DIY | Call a pro |
|---|---|
| Clean a nozzle or filter; adjust a spray pattern | Cracked valve body; zone running from more than one valve |
| Test a solenoid; bypass a rain sensor to test it | Mainline leak under a path or driveway |
| Close a bleed screw; shut the irrigation main valve | Pump electrical work; backflow assembly replacement |
| Run a catch-cup test; reprogram a schedule | Any fault you cannot isolate after the 10-minute check |
Write down which zones fail, whether the fault is constant or intermittent, and what changed recently — a storm, a new controller setting, or work in the yard. A pattern across zones points to power or supply; a single zone points to its valve.
Photograph the controller display and the valve box, with the zone number visible if you can. A technician who can see the display error and the valve condition before arriving brings the right parts the first time.
If a zone will not shut off, shut the irrigation main valve before you call. It stops the water waste and the bill while the visit is scheduled, and it tells the technician the valve — not the controller — is the suspect.
Most repeat faults come from a filter never cleaned, a rain sensor never tested, and run times never adjusted as the lawn establishes. Clean filters at the start of the season, test the rain sensor once, and recheck run times after any head or zone change. In Flagler County sand, a filter check belongs with the nozzle check, not as an afterthought when pressure drops.
A failed or bypassed rain sensor lets the system water through rain, and a sensor stuck wet stops the system altogether. Bypass it briefly as a test: if the system runs bypassed and not otherwise, the sensor is the fault — replace it, do not leave it bypassed.
We diagnose sprinkler faults across Palm Coast, Flagler Beach, and Ormond Beach every week — valves, solenoids, controllers, pumps, and leaks, on city, well, and reclaimed water.
Call (386) 237-2983 for a repair visit: we will run the 10-minute check, isolate the zone or the system fault, and fix it before the next cycle. See our sprinkler repair page for what a visit covers.
For a zone that will not shut off, or any fault that cannot wait for a normal visit, see our emergency sprinkler repair in Palm Coast page. We respond within 24–48 hours, and have served 930+ customers since 2015 from 15 Hargrove Ln, Unit 5D, Palm Coast, FL 32137.
Usually a valve stuck open. Turn the controller off first: if the water stops, the fault is the controller or schedule. If it keeps running, close the bleed screw a quarter-turn, then shut the irrigation main valve, and clean or rebuild the valve. Call a pro if the valve body is cracked.
One bad zone usually means that zone’s valve, solenoid, or wiring. Open the valve manually: if the zone runs, the fault is electrical. If it still will not run, check the main supply and the valve itself.
Check controller power, the transformer, and the outlet first, then bypass the rain sensor briefly. If the system runs bypassed, the sensor is holding it off. Also check the master valve and pump start relay, if your system uses them.
Use the controller’s reset or reboot function as its manual describes, then recheck the schedule and the rain sensor setting. A reset clears a programming fault, not a power, valve, or pump fault — if nothing runs after a reset, work through the power and sensor checks.
Yes. A sensor stuck in the wet position holds the system off. Bypass it briefly as a test: if the system runs bypassed and not otherwise, the sensor is the fault and should be replaced, not left bypassed.
Disconnect the solenoid wires and measure resistance with a multimeter. A healthy solenoid reads about 20–60 ohms, per Sprinkler Warehouse. A reading far outside that range, or a plunger that stays stuck, means the solenoid needs replacing.
Call when the valve body is cracked, a zone runs from more than one valve, a mainline leak sits under a path or driveway, pump electrical work is involved, or you cannot isolate the fault after the 10-minute check in this guide.